Monday, April 28, 2014

Sampler Sew-A-Long Finishing Instructions


Step 1:  Arrange the blocks into groups of four.  

Step 2:  Sew 1" finished sashing with a cornerstone block between each grouping of four blocks.

Step 3:  Sew 2" finished sashing between the four groupings including your center cornerstone block

Step 4:  Sew your first border around your quilt.   I continued with a 2" finished border in the same 
             fabric as my sashing.

Step 5:  Sew your second 1" finished border on.  Choose a good contrast fabric.  I used the same 
             fabric as I used for my cornerstones.

Step 6:  Sew your final 6" finished border to the quilt

Quilt, bind and enjoy.  I would love to see your finished quilts.  If I were to do this again I would like to try some brighter fabrics like Kaffe or Amy Butler or Tula Pink.

Saturday, April 26, 2014

Prep Work

Today I am preparing the house and a meal to welcome my husband Steve's students for the afternoon and evening tomorrow.  They will be hearing from a couple in the business world what it means to be a leader and show professionalism in the workplace.  That should be interesting!  As most of you know it takes a lot of work and effort as well as planning to be ready for a large group.

It really isn't much different when you decide to begin a new quilt project.  There are definitely things one can and should do to prepare.  It is also a good idea to know when to take the leadership role in creating your quilt and when to step back and listen to your quilt speak.

What are your favorite quilting preparation tasks?  Do you have a system for getting things done?

I believe my favorite part is the dreaming and deciding what it is I'd like to do.  My least favorite part, and it is also where I get bogged down, is the figuring out how much fabric I'll need, doing the math to create the design and writing down the directions or pattern.  It was a smart smart day on my part when I asked Robin to help me with all that math and designing.

This certainly will not be an exhaustive list by any means but hopefully it will give you a couple of things to think about as you begin your next project.

Do you have a purpose for the project or is this for creative fun?
If there is a purpose do you have to keep to a particular color scheme or pattern design?
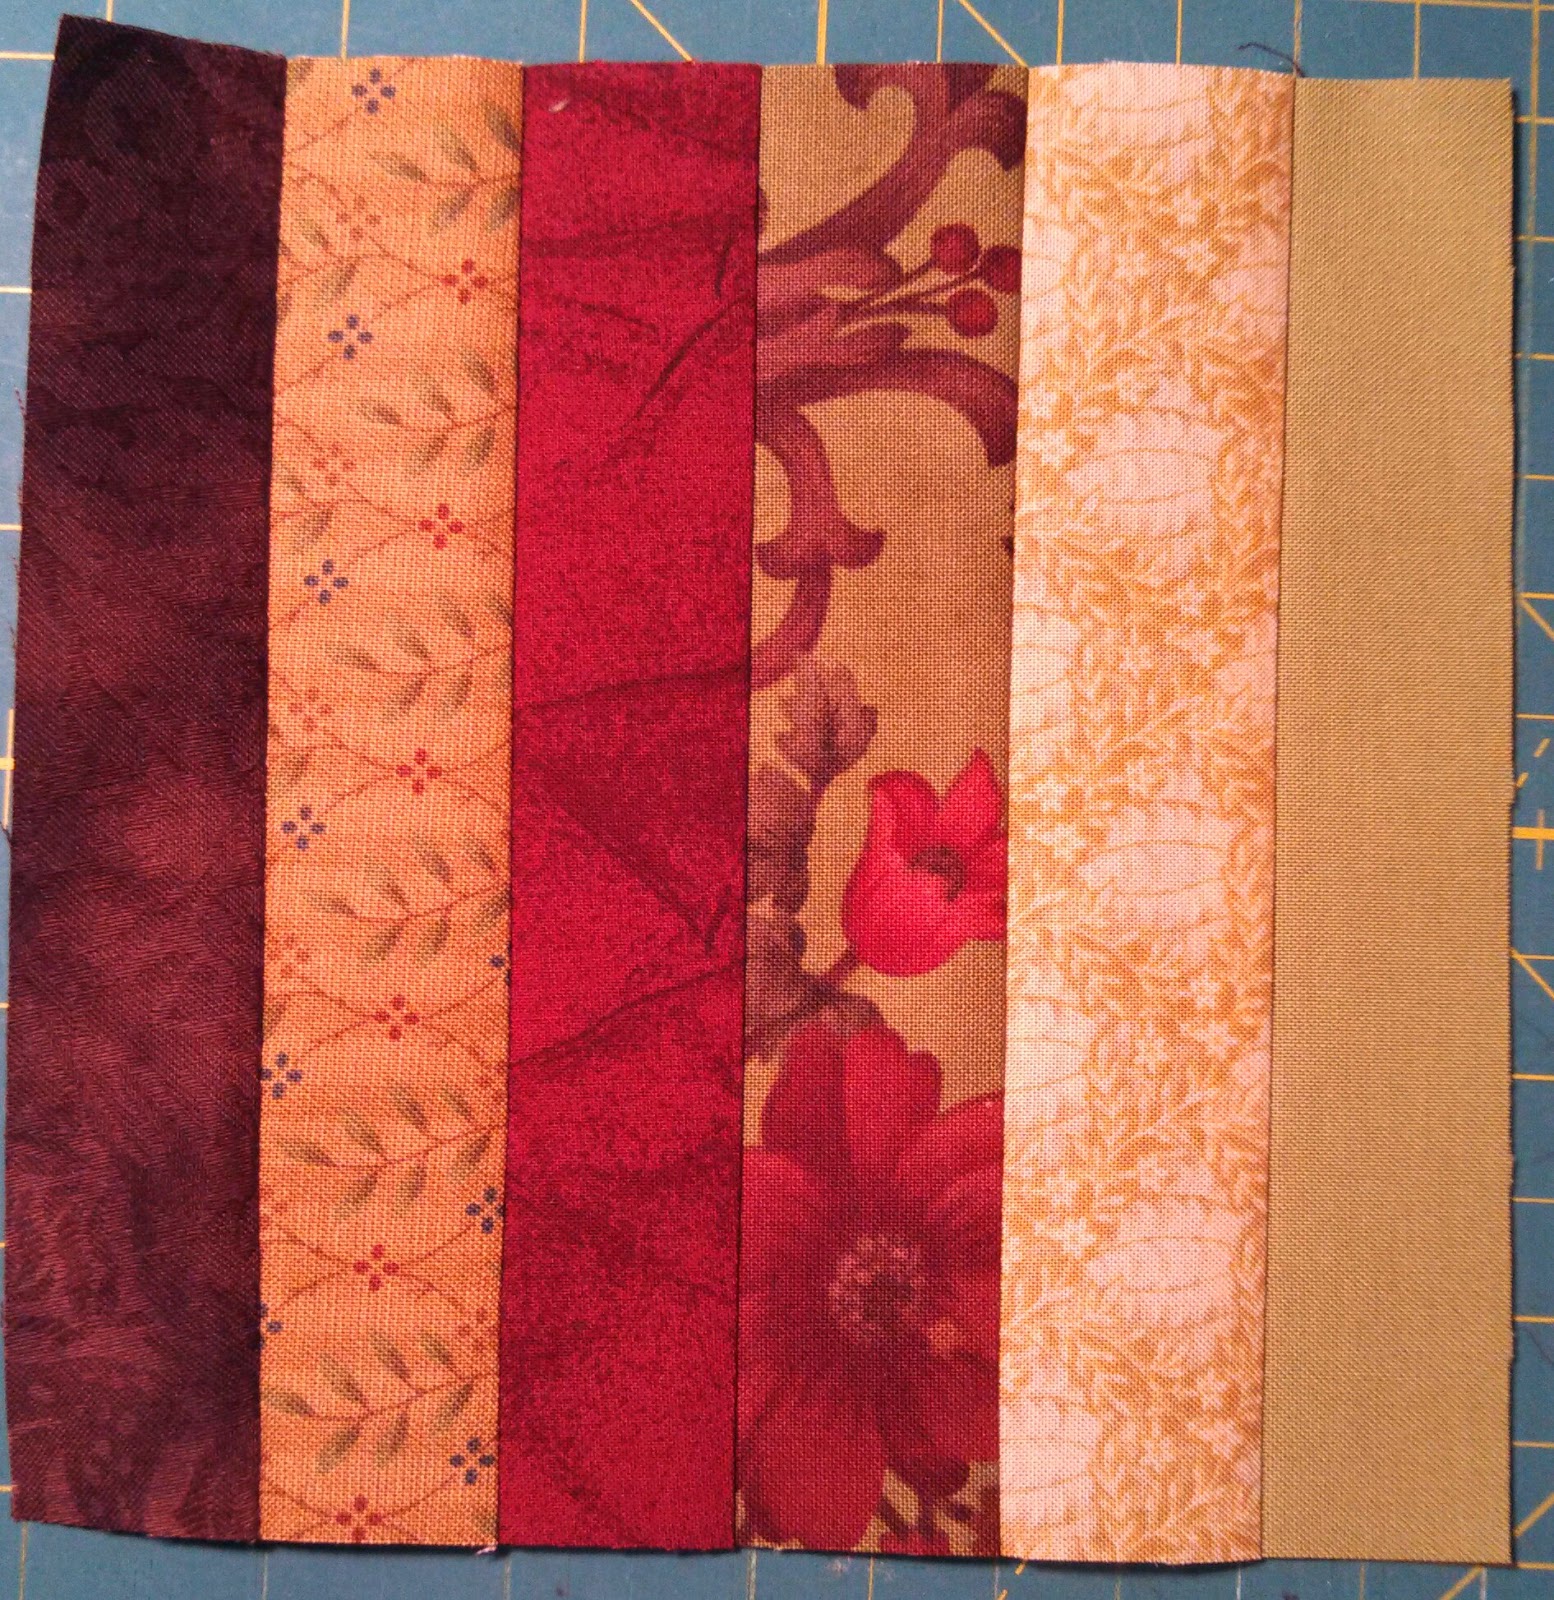
First, go to your stash and pull any possibilities that might be lurking there.
Check out the pattern and see what you need in value (i.e.: lights and darks), character of print, and finally colors or hue.
Take a little snippet of all your possibilities and head to the quilt store.  Yeah the best part!!!!
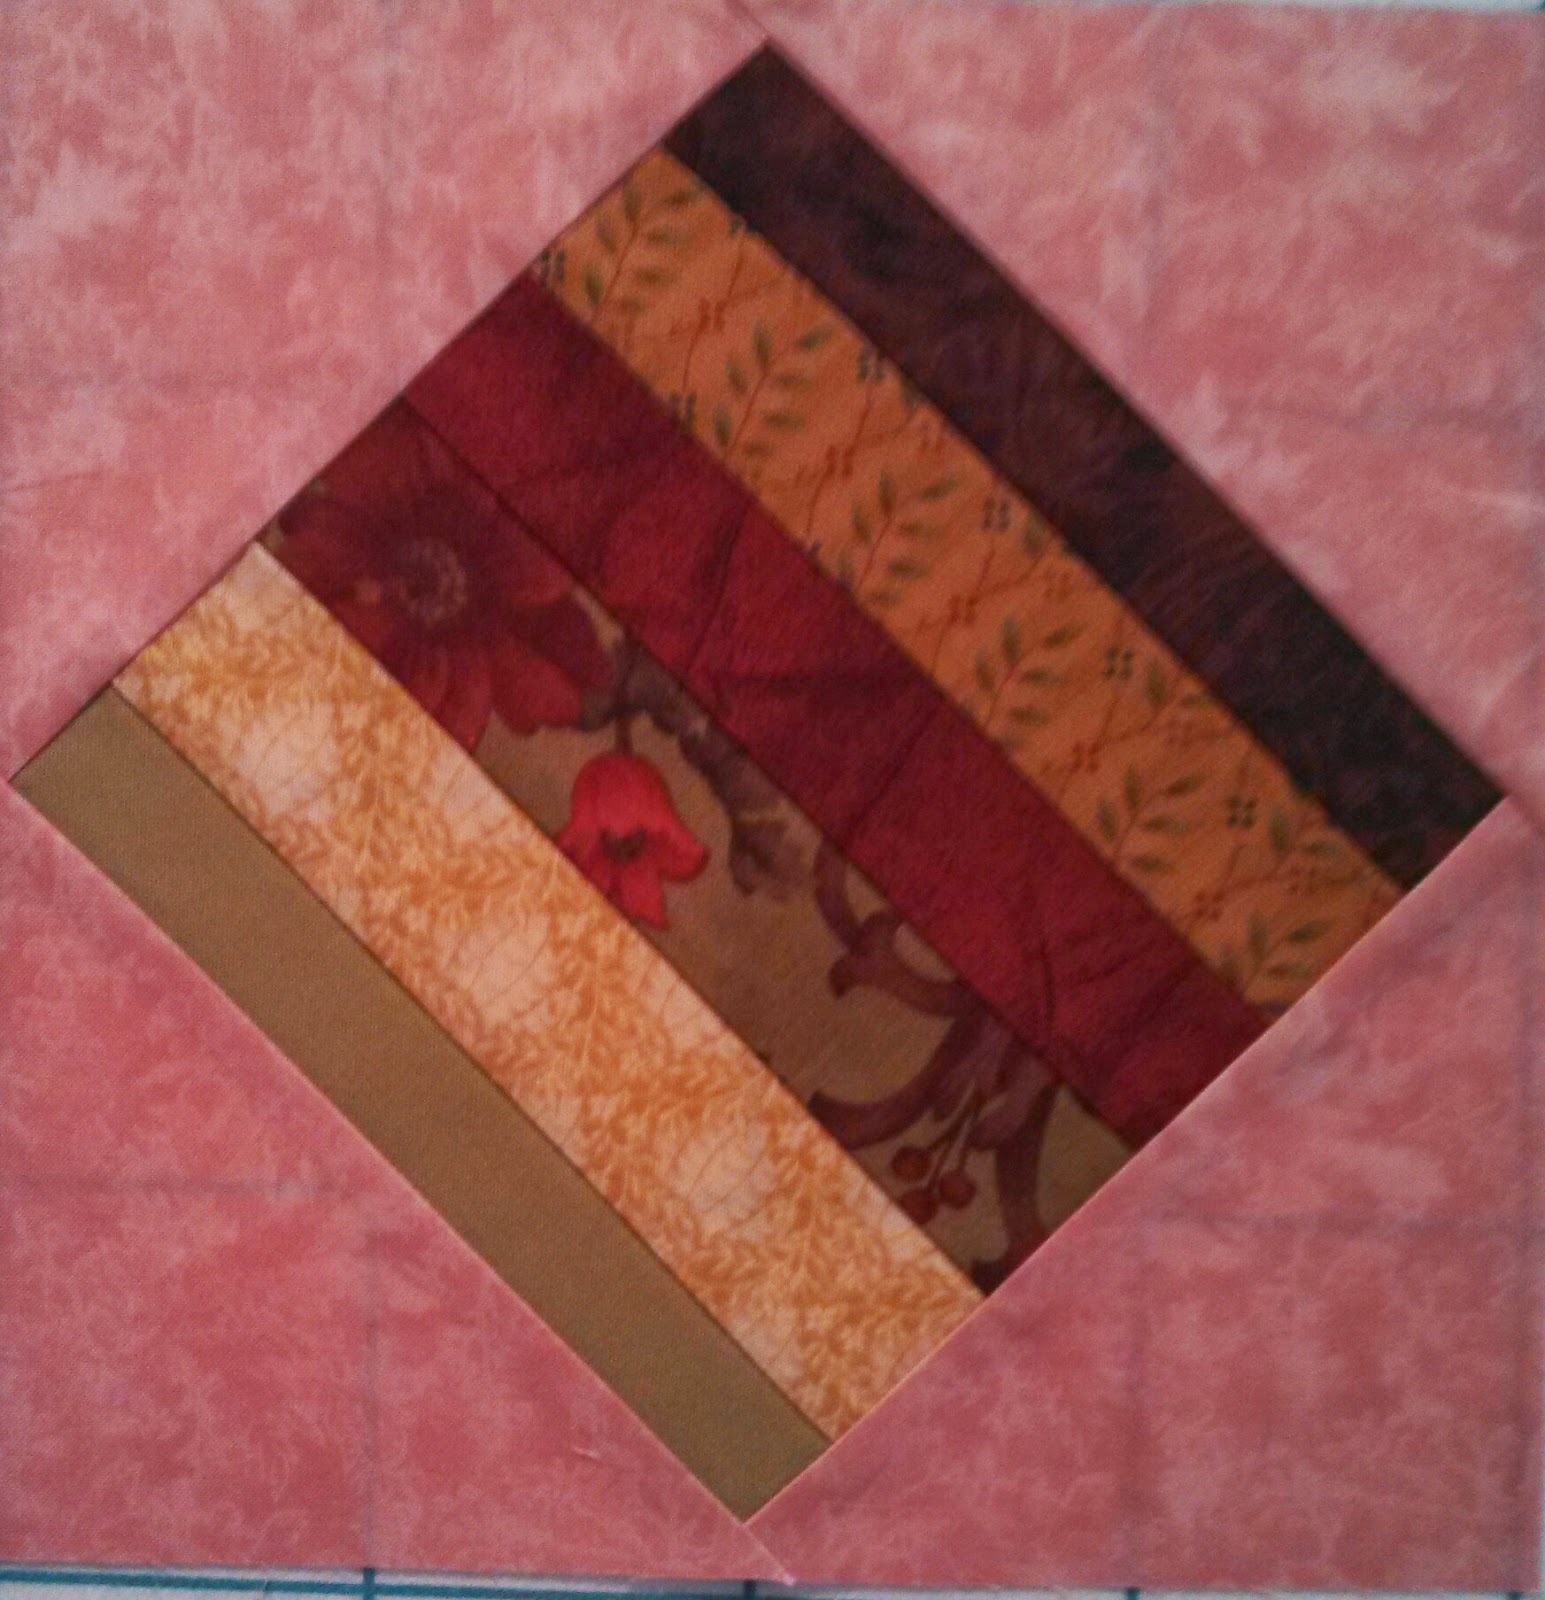
Make a few blocks, put them on the design wall and step back and see if you are headed in the right direction.
Relax, enjoy and always remember to breathe and breathe deeply.

Happy preparation time!

Dee

Saturday, April 19, 2014

My New Favorite Color

My favorite color has always been red.  I think for this season I have discovered a new favorite; green. The snow has finally melted and the grass is starting to turn green and how glorious does that look.  I am craving the sight of green like I cannot ever remember doing before.

There is another thing I am missing this spring.  In Livermore we lived right next to the little league fields and would hear the ping of the baseball bats every Saturday morning.  I keep waiting for those sounds of laughter and cheering.  For me, baseball is a sure sign of Spring.

Today I am helping Steve put out the pots, patio furniture and prepare as much as we can for some gardening.  After that I will be ready to dig into my stash and decide on some new projects.  I'm thinking something in shades of spring.

What are you working on and anticipating this season?  Whatever it may be I hope it is bringing you great joy and time to relax and create beauty.

May you each have a wonderful Blessed Easter!

Christ is Risen!

Dee

Friday, April 18, 2014

Sampler Sew-a-Long Block #16

Here is the final block in this scrappy sew-a-long. I have put together the top and finishing up the borders today. Picture and directions to follow.


Step 1:  Once again we are working with HST's and this block goes together easily. You will need a background fabric, 2 mediums and a dark.


Step 2:  Cut four 2 7/8" squares from background fabric, cut two 2 7/8" squares from a medium fabric, three 2 7/8" squares from dark fabric plus two 2 1/2" squares, and four 2 1/2" squares from the medium accent fabric plus one 2 7/8" square.

Step 3:  Make the Half Square Triangles as shown in top picture using your favorite method and assemble block according to picture.

Tuesday, April 15, 2014

Sampler Sew-a-Long Block #15


Step 1:  Choose 6 coordinating fabrics for this block.  One light and one dark for the backgrounds.  One medium for the blocks, one medium light, one medium dark and one light for the accent fabrics.


Step 2:  From the light background cut four 2 7/8" squares, from the dark background cut four 2 7/8" squares, cut one medium 2 7/8" square and one light 2 7/8" square, cut four medium light 2 7/8" squares and four medium dark 2 7/8" squares.


Step 3:  Following the picture of the block and the picture above you will need to make 16 HST's and arrange them according to the picture.

Almost done!

Dee

Monday, April 7, 2014

Sampler Sew-a-Long Block #14


Step 1:  Cutting instructions; Out of a variety of your fabrics cut 1-2" strips. Cut two 4 7/8" squares and cut diagonally


Step 2:  Sew the strips together.


Step 3:  Trim the strip piece to a 6 1/8" square.


Step 4:  Sew the triangles onto the sides of your stripped square to form a square in a square block. See block at the top of the page.

Have fun.
Dee